Migrating WordPress to a New Host (2025 Guide)
Do you want to migrate your WordPress site from your current hosting provider to a new one? You’re not alone. Whether you need faster page speed, better support, or scalable infrastructure, moving hosts can unlock serious performance gains—with zero downtime if you follow the right process.
Why Transfer Your WordPress Website to a New Host?
- Speed & Core Web Vitals: Modern hosts offer NVMe SSDs, HTTP/3, and advanced caching layers that shave seconds off load times.
- Cost Efficiency: Introductory pricing can save up to 60 % in your first year, and multi-site discounts reduce long-term spend.
- Better Support & SLA: 24/7 chat, ticket, and phone assistance plus proactive monitoring keep sites safer.
- Geolocation & GDPR: Data-center choice lets EU businesses comply with residency laws.
- Scalability: Container-based or cloud VPS plans handle traffic spikes effortlessly.

Pre-Migration Checklist
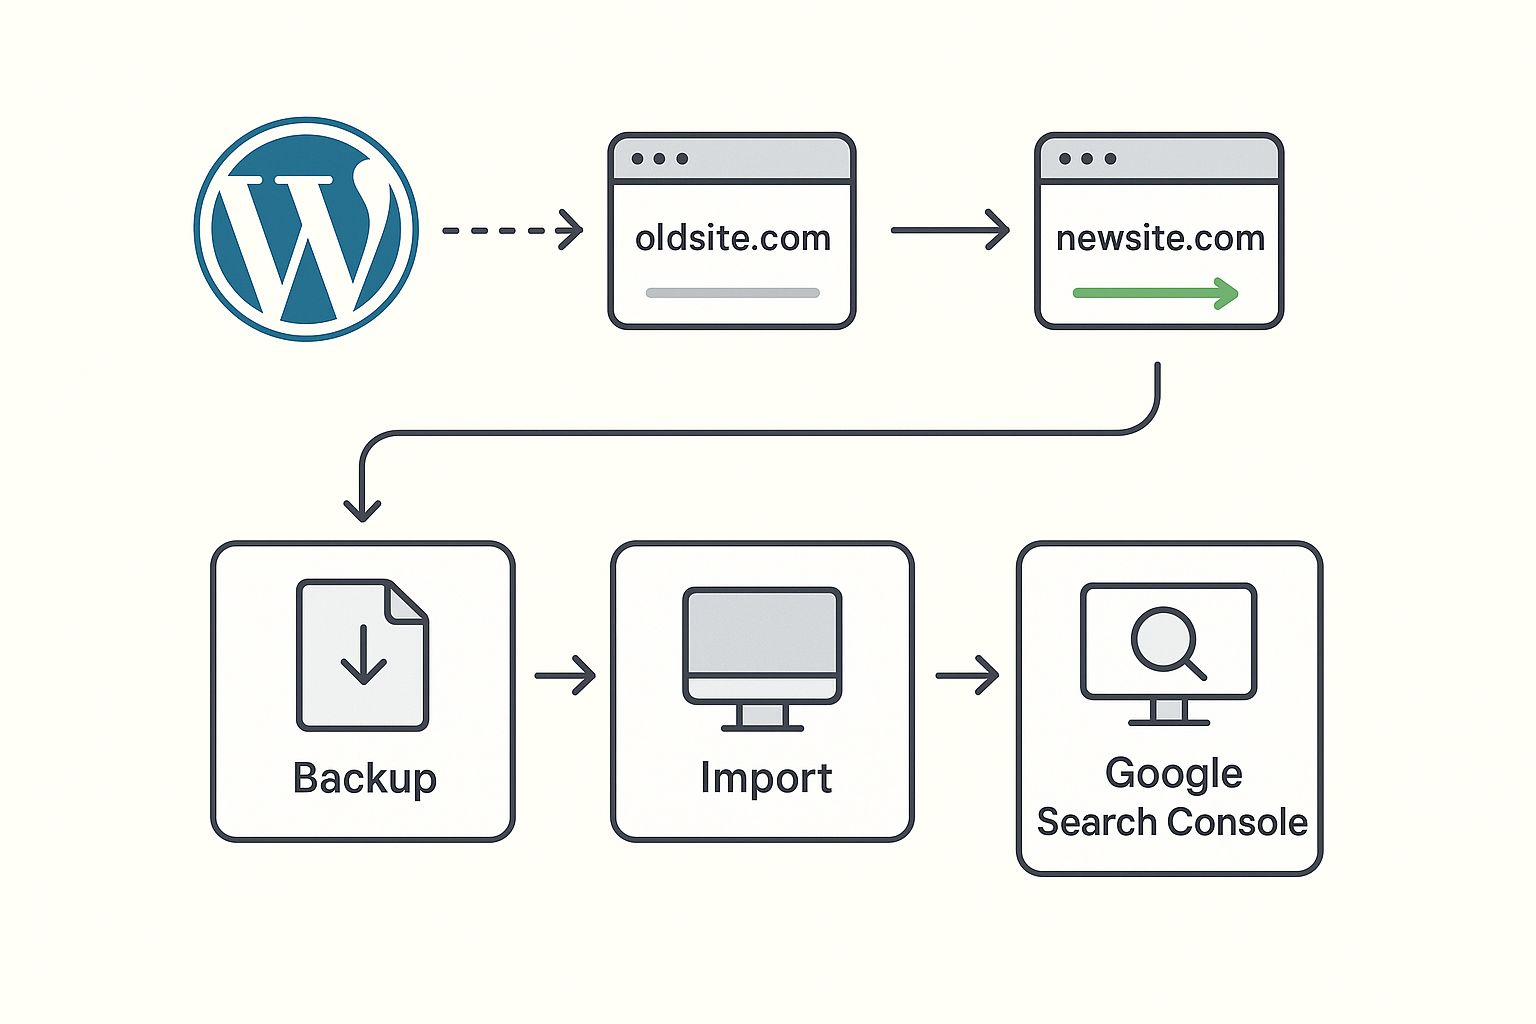
- Run a full backup (files + database).
- Check PHP version compatibility on the target host.
- Disable caching and security plugins temporarily.
- Note current DNS TTLs to speed up propagation later.
- Ensure you have SFTP/SSH access on both hosts.
Tools & Plugins for a Smooth Transfer
- All-in-One WP Migration: Drag-and-drop exports up to 512 MB free; unlimited with premium extension.
- Duplicator Pro: Creates a bundled archive and installer.php for rapid unpacking on the new server.
- WP CLI: Command-line aficionados can rsync files and use
wp search-replacefor URLs. - ManageWP or BlogVault: Off-site incremental backups with one-click restore to any host.
Step-by-Step Migration Process
1. Export Your Site
Use Duplicator Pro to generate an archive.zip and installer.php. Download both locally.
2. Set Up the New Hosting Environment
Create a blank MySQL database, user, and assign privileges. Upload the archive and installer via SFTP.
3. Update the Hosts File for Private Testing
Map your domain to the new server’s IP locally so you can browse without public DNS changes.
4. Run the Installer
Access https://yourdomain.com/installer.php (via hosts file) and follow the on-screen prompts to import the database and unpack files.
5. Perform Search-and-Replace
Convert any hard-coded URLs pointing to staging subdomains back to the primary domain.
6. Verify Permalinks & Media
Re-save permalinks in Settings, load multiple pages, and run a broken-link checker.
7. Update DNS & Reduce Downtime
Set new A records to the target server. Because you lowered the TTL earlier, propagation should finish in under an hour. Keep the original host alive for 48 hours as a fallback.
Testing & Verification
- 404/500 Scan: Use Screaming Frog or Sitebulb to crawl for errors.
- Performance Benchmarks: Compare TTFB and LCP using WebPageTest before and after.
- Security Headers: Validate SSL, HSTS, and CSP via SecurityHeaders.com.
- Analytics: Make sure GA4 continues tracking sessions.

Managing Downtime Risk
With proper preparation, total public downtime is often <60 seconds. Reduce risk by:
- Scheduling the switch during low-traffic hours.
- Keeping both SSL certificates active.
- Maintaining a maintenance page at
/wp-admin/install.phpas a fallback.
How HostGator Helps You Migrate
HostGator provides free cPanel-to-cPanel transfers within the first 30 days of signup. Their support team handles:
- Full account copy—email, databases, Cron jobs.
- Verification before DNS switch.
- Post-migration file permission fixes.
For WordPress-specific moves, HostGator’s WP Starter plan includes free Jetpack-powered daily backups and malware scans.
How Cloudways Supports Site Transfers
Cloudways offers a one-click WordPress Migrator plugin that communicates with their API, pushing your archive into an isolated staging environment on DigitalOcean, Vultr, or AWS. Highlights:
- No cPanel required—SSH/SFTP credentials suffice.
- Temporary “cloudwaysapps.com” URL for testing.
- Built-in search-and-replace and SSL installation.
- 24/7 Slack-style live chat plus ticket escalation.
Post-Migration Housekeeping
- Enable full-page caching (Redis or Varnish).
- Configure server-level backups (daily snapshots).
- Set up uptime monitoring with Freshping or Better Uptime.
- Update your CDN or proxy (Cloudflare) records.
- Submit the new sitemap to Google Search Console.
Conclusion
Shifting to a new host can dramatically improve site speed, reliability, and support quality. Follow the structured process above, and your users will never notice the change—except when your pages load faster.
|
|
Techyhonest recomends…
| Brand Name | Services | Link |
|---|---|---|
| 🔷 Bluehost |
|
Review |
| 🌻 InMotion Hosting |
|
Review |
| ☁️ Cloudways |
|
Review |
| 🧊 WP Engine |
|
Review |
| 🐊 HostGator |
|
Review |
| ⚙️ Flywheel |
|
Review |


